Rejuran Healer is effectively delivered through intradermal injection directly into the superficial dermis, as the large polynucleotide molecules cannot penetrate the skin barrier topically. The standard clinical procedure utilizes a manual micro-papule technique with a fine 33G or 34G , depositing approximately 0.05 ml of gel at 0.5 to 1 cm intervals to create temporary “embossing” bumps. This visual indicator confirms the product is correctly positioned 1-2 mm deep for optimal fibroblast activation, usually resolving within 24 hours, whereas automated guns, while faster, frequently result in 10-20% product waste due to mechanical leakage during suction.
Procedure Steps
The standard Rejuran injection process typically takes 60 to 90 minutes, comprising four stages: cleaning, anesthesia, injection, and post-operative sedation. Physicians generally choose 33G or 34G ultra-fine, inserting them at a 45-degree angle to precisely deliver 0.05ml of solution into the dermis (at a depth of approx. 1.5-2mm). A full-face injection requires 100-150 injection points, with spacing maintained at 0.5-1cm. Immediately after the procedure, “papules” (Embossing) similar to mosquito bites will appear on the skin surface, which is direct evidence that the drug is at the correct layer. These typically subside naturally within 24-48 hours.
Pre-operative Anesthesia Preparation
Deep Facial Cleansing and Degreasing
Before applying any anesthetic, the skin must be completely free of barriers. Ordinary facial cleansers often leave residual oils, which can directly hinder the penetration of anesthetic components into the stratum corneum.
- Double Cleansing: Nurses usually first use a cleanser containing acidic components (such as salicylic acid or fruit acid) for preliminary cleaning to remove surface dust and oxidized oils.
- Alcohol Degreasing: This is followed by wiping the entire face with 70% Isopropyl Alcohol pads or gauze. This step is crucial, as alcohol quickly removes sebum accumulated at the pore openings. Without removing this oil layer, the efficiency of lipophilic drugs like lidocaine in penetrating the epidermis decreases by 30% to 40%.
- Special Area Treatment: For areas with high oil secretion like the nose wings and glabella, nurses will increase the intensity and frequency of wiping. If there are open wounds or severe acne inflammation, these areas will avoid alcohol and use 0.05% Chlorhexidine solution for disinfection instead to avoid severe stinging.
Anesthesia Cream Ingredients and Concentration Selection
Most common anesthesia creams on the market are compounds of Lidocaine and Prilocaine, but for dermal injections like Rejuran, clinics usually use high-concentration formulas.
| Anesthesia Type | Common Formula Concentration | Onset Time | Duration | Applicable Scenarios |
|---|---|---|---|---|
| Standard EMLA Cream | 2.5% Lidocaine + 2.5% Prilocaine | 45-60 minutes | 30-60 minutes | Superficial laser, microneedling |
| Powerful Compound Cream (BLT) | 20% Benzocaine + 6% Lidocaine + 4% Tetracaine | 20-30 minutes | 45-90 minutes | Deep injections (e.g., Rejuran), Thermage |
| Single Lidocaine | 4% or 5% Lidocaine | 30-40 minutes | 20-30 minutes | Sensitive skin, quick procedures |
- BLT Powerful Anesthetic: In many professional medical aesthetic clinics, to handle the high pain index of Rejuran, doctors prescribe prescription-grade BLT ointment. This ointment is not sold in ordinary pharmacies; it mixes three anesthetic components to penetrate into the Deep Dermis, which is the layer where Rejuran actually remains.
- Dosage Standard: The applied thickness must reach 1mm to 2mm, similar to applying a thick layer of cake cream on the face. If applied too thinly, skin warmth will cause the water in the ointment to evaporate quickly through the air, causing the ointment to dry and clump, with penetration ability decreasing exponentially.
Application Details of Occlusion Technology
Simply applying the ointment is not enough; to force pores open and lock in the efficacy, “Occlusion” must be performed.
- Plastic Wrap Covering: Nurses will take 15cm x 15cm pieces of medical plastic wrap or specialized facial plastic covers and fit them tightly over the skin coated with anesthetic.
- Thermal Effect Principle: The plastic wrap blocks air circulation, causing the skin surface temperature to rise slightly by 1°C to 2°C. This thermal effect dilates local microvessels and pores, increasing the absorption rate of anesthetic components by 2 to 3 times.
- Sectional Cutting: To fit the contours of the nose wings and lips, nurses usually cut openings in the wrap. If the periorbital area requires injection, two small patches will be specifically cut to cover the lower eyelids, which is the area where skin is thinnest and drug absorption is fastest but also most sensitive.
Time Control and Vascular Reactions
Lidocaine has vasoactivity; excessively long duration may affect subsequent injections.
- Golden Window: For 5% concentration anesthetic, 30 to 40 minutes is the standard duration; for BLT powerful anesthetic, 20 to 25 minutes is usually sufficient.
- Vascular Blanching: If you find the skin in the area where the anesthetic is applied turning white, this is a local vasoconstriction reaction caused by Lidocaine. Slight whitening is a sign of efficacy, but if applied for more than 60 minutes, excessive vasoconstriction may make the skin’s feedback to pricks sluggish, and even lead to rebound hyperemia after injection.
- Allergy Testing: In the first 5 minutes of application, the nurse will observe for any intense burning sensation. A very small number of people are allergic to amide anesthetics; if persistent stinging or expanding erythema occurs, it must be wiped off and cleaned immediately.
Sectional Removal and Injection Coordination
To prevent the anesthetic effect from fading during a long injection process, the “sectional processing” principle is strictly followed.
- Forehead Priority: Doctors usually start injecting from the forehead, so the nurse only removes the wrap from the forehead, wipes off the ointment in that area, and immediately performs alcohol disinfection.
- Preventing Loss of Efficacy: After the anesthetic is wiped off, the analgesic effect usually only lasts for 15 to 20 minutes. The full-face injection of Rejuran often lasts more than 40 minutes. If the anesthetic is wiped off the whole face at once, by the time the chin is injected, the anesthesia will have worn off, and the pain will be intense.
- Secondary Disinfection: Anesthetic ointments usually have an oil base (such as Vaseline), making the skin surface very slippery after removal. Before the is inserted, the doctor must again vigorously wipe the injection point with an alcohol cotton ball to prevent carrying the ointment into the subcutaneous layer and causing granulomas.
Auxiliary Pain Management Methods
For patients with a Low Pain Threshold, surface anesthesia alone may not be enough for Rejuran injection pain, so clinics provide additional interventions.
- NSAIDs Trade-off: It is usually recommended not to take Ibuprofen or Aspirin before the procedure. Although they provide pain relief, they inhibit platelet aggregation, increasing bleeding at the sites and increasing the chance of post-operative Bruising by 50%. If pain relief is necessary, doctors suggest Acetaminophen/Paracetamol, which does not affect coagulation.
- Vibration Anesthesia: This is a handheld device like an electric toothbrush placed on the skin near the injection point. According to “Gate Control Theory,” vibration signals travel faster than pain signals, so the brain prioritizes the vibration signal, thereby “masking” part of the prick pain.
- Zimmer Cooler: A cold air tube at -30°C may be used to blow on the skin during injection. Low temperature can instantly numb nerve endings and constrict blood vessels, providing both pain relief and reduced bleeding.

Injection Operation
Selecting Ultra-fine
The texture of Rejuran solution is much thicker than ordinary non-cross-linked Hyaluronic Acid; its long-chain polynucleotide structure determines its High Viscosity.
- Nanoneedle Application: Standard configuration is usually Japan’s JBP or similar brands of 33G or even 34G ultra-fine (Nanoneedle). The outer diameter of a 34G is only 0.18mm, almost as thin as two strands of hair.
- Length Considerations: 4mm length are usually selected. Since the average thickness of facial dermis is between 1mm and 2mm, the 4mm length allows doctors to inject at an angle, ensuring the tip is fully submerged while preventing accidental entry into deeper subcutaneous fat through physical limiting.
- Bevel Direction: During the operation, the doctor must always keep the Bevel facing up. This way, when the solution is pushed out, it naturally pushes the skin upward to form a perfect dome-shaped papule, rather than diffusing downward.
Technique and Injection Angle
Manual Injection is recognized as the “gold standard” for Rejuran treatment, although it requires extremely high hand stability from the doctor.
- Injection Angle: The enters at a 30 to 45 degree angle to the skin surface. If the angle is too large (approaching 90 degrees vertical), the can easily penetrate the dermis into subcutaneous tissue, causing drug loss and bruising; if the angle is too small, the tip may slide in the epidermis, causing unnecessary scratches.
- Intradermal Injection: The target layer is the upper Reticular Dermis. When the tip pierces the epidermis and enters the dermis, the doctor can feel a distinct sense of Resistance from the dense collagen fibers. If the slides in as smoothly as cutting butter, it indicates the is too deep and has entered the loose fat layer, and must be withdrawn and adjusted.
- Micro-droplet Technique: Serial Puncture technique is used. For each prick, 0.02ml to 0.05ml of solution is injected. This volume must be precisely controlled; too much causes excessive local pressure, while too little fails to create an effective bio-stimulation field.
Creating Perfect Papules
The most iconic visual feature of Rejuran injection is the “papule” (Embossing/Papule).
- Papule Morphology: A successful injection point will immediately bulge into a hemispherical bump about 3mm to 4mm in diameter, usually pale white in color (due to the injected liquid temporarily compressing surrounding capillaries).
- Arrangement Density: Full-face injection usually requires creating 100 to 150 such papules. The doctor will maintain a spacing of about 0.5cm to 1.0cm between rows and points, like drawing a grid on the face. This high-density coverage ensures the solution connects seamlessly after diffusion to cover every inch of dermal tissue.
- Immediate Feedback: If no papule is seen during injection, or if blood droplets appear immediately without bulging, it indicates the injection is too deep and the drug has escaped into deeper tissues. The doctor must immediately adjust the depth of the next.
Post-operative Immediate Treatment
At this point, the face is covered with 100 to 150 tiny open wounds, and the skin barrier is in a state of temporary collapse. The dermis bears huge mechanical tension due to accommodating extra liquid, and the epidermis is accompanied by widespread Erythema and exudation of tissue fluid. The next 30 to 60 minutes is the golden window for preventing infection, controlling the Inflammatory Cascade, and accelerating drug fusion.
Cleaning the “Battlefield” and Hemostasis
The post-injection face is a mix of residual anesthetic cream base, tissue fluid, and pinpoint bleeding. Cleaning with ordinary tap water is strictly forbidden, as bacteria in raw water can easily invade the dermis through unclosed holes.
- Saline Rinse: Nurses use sterile gauze dipped in 0.9% Normal Saline to clean bloodstains from the whole face by pressing rather than rubbing. Rubbing will aggravate vasodilation, causing stopped bleeding points to bleed again.
- Pressure Hemostasis: For vascular-rich areas like around the eyes or cheekbones, if persistent bleeding occurs, apply continuous pressure with sterile dry cotton balls for 2 to 3 minutes.
- Pore Closing Time: Micro-channels caused by 33G or 34G usually close naturally within 2 to 4 hours post-op. During this time, any contact with non-sterile substances may trigger contact dermatitis or bacterial infection.
Powerful Cooling and Sedation
The inflammatory response caused by Rejuran injection is mechanical damage; rapidly reducing skin temperature can effectively constrict capillaries and inhibit histamine release, thereby reducing post-op redness and burning sensations.
- Sterile Cooling Patches: Clinics are usually equipped with specialized Medical Cooling Masks, stored in constant-temperature refrigerators at 4°C to 8°C.
- Ingredient Selection: Mask ingredients are extremely simplified, usually containing only Sodium Hyaluronate, Centella Asiatica, or Beta-glucan. It is strictly forbidden to use ordinary masks containing fragrances, preservatives, or whitening ingredients (like Vitamin C, Niacinamide), as they can severely irritate open wounds.
- Cryo-electrophoresis: Some clinics use Cryo-electrophoresis probes to slide over the mask surface. Probe temperature is set between -5°C to 0°C, conducting cold through the mask. This can reduce subcutaneous temperature by about 10°C within 5 minutes, significantly reducing post-op Edema. However, the probe must keep moving to prevent local frostbite.
Photodynamic Therapy for Assisted Repair
While or after applying the mask, doctors usually arrange 10 to 15 minutes of medical-grade LED Light Emitting Diode Therapy. This is not the low-power lighting of home beauty devices, but high-energy panels with power density reaching 40-100 mW/cm². Different wavelengths correspond to different repair mechanisms:
| Spectra Color | Wavelength | Penetration Depth | Main Action | Applicable Situations |
|---|---|---|---|---|
| Red Light | 633 nm +/- | Deep dermis | Activates mitochondria, increases ATP, speeds up fibroblast repair | Standard configuration, speeds up hole healing |
| Yellow Light | 590 nm / 830 nm | Superficial dermis | Promotes lymphatic drainage, speeds up hemoglobin metabolism | For patients with high Bruising risk or severe edema |
| Near-Infrared (NIR) | 830 nm | Subcutaneous tissue | Strong anti-inflammatory, relieves deep pain | For those sensitive to pain or after deep injection |
Commonly used devices like Healite II or Omnilux allow doctors to adjust the ratio of red and yellow light based on bleeding and swelling. During irradiation, patients must wear specialized goggles to protect the retina.
Sealing and Protection
After sedation and light therapy, as the stratum corneum has been damaged by numerous holes, the skin’s self-moisturizing ability is almost zero in the short term, so a protective film must be artificially established.
- Antibiotic Ointment: For areas with more bleeding or larger holes, doctors will apply a small amount of Mupirocin or Fusidic Acid ointment to prevent staphylococcal infection.
- Growth Factor Repair Cream: Apply repair cream containing EGF or PDRN (homologous to Rejuran polynucleotides) to the entire face. This cream layer not only moisturizes but also forms a breathable semi-occlusive barrier.
- Physical Sunscreen: If leaving the clinic during the day, sun protection is vital. Since chemical sunscreens may seep into holes and cause allergies, pure physical sunscreens (main ingredients Zinc Oxide or Titanium Dioxide) must be used. A safer approach is to wear a wide-brimmed hat and sunglasses for complete physical blockage of UV rays, avoiding applying any sunscreen directly on freshly injected skin.
Techniques
The success of Rejuran treatment depends entirely on whether the high-viscosity PN (polynucleotide) components can be accurately delivered to the Superficial Dermis. Clinical practice is mainly divided into two paths: Manual Injection and Gun. Manual injection usually uses 33G/34G ultra-fine , employing Papule technique with a 0.5-1cm interval to inject 0.02-0.05ml of solution per single point. Although this method is accompanied by a higher pain index and a papule reaction lasting 12-36 hours post-operation, it ensures zero loss of the solution and precise delivery to the dermis where fibroblasts are located.
Manual Injection Techniques
Equipment Specifications
Gauge:
- 33G (0.20mm): This is the current equilibrium point. Compared to 30G, the puncture pain of 33G is reduced by about 40%, while the internal diameter just allows the PN molecular chains to pass under a thrust of 10-15 Newtons (N).
- 34G (0.18mm): Although the entry is almost painless, the injection resistance increases exponentially. Using a 34G, the physician needs to apply extremely high pressure, which can cause hand fatigue and tremors, affecting precision. Usually only used for extremely sensitive periorbital areas.
- Length: Recommended 4mm. This length limits insertion depth; even with vertical injection, it is difficult to enter subcutaneous fat, acting as a physical safety limiter.
Interface: Luer-Lock must be used instead of Slip-Tip. Due to high PN gel resistance, ordinary slip-tip are highly prone to “Pop-off” when pressure is too high, leading to drug loss.
The ID Technique
Standard operation utilizes Serial Puncture, rather than linear threading. Injection Angle and Depth: Bevel must face up. In tighter skin like the forehead, the angle is 30-45 degrees; in loose areas like the cheeks or neck, the angle can be reduced to 10-15 degrees. The target layer is the Superficial Reticular Dermis, depth approx. 1.5mm – 2.0mm. Bleb Formation: When injection begins, the physician will feel tissue resistance. As 0.05ml is injected, collagen fibers are pushed apart, forming a pale white or translucent Bleb approx. 3-4mm in diameter.
- Visual Feedback: If the papule has clear edges and appears white, the layer is accurate (intradermal).
- Error Correction: If the skin only slightly bulges without whitening, it indicates the injection is too deep. PN components will be quickly metabolized by fat and fail to function as a scaffold.
Facial Dosing Mapping
| Treatment Area | Skin Thickness Reference | Recommended Bolus | Spacing | Technical Difficulties |
|---|---|---|---|---|
| Periorbital | 0.5mm – 0.8mm | 0.01 – 0.02ml | 0.3cm – 0.5cm | Prone to bleeding. Need to pull skin tight. Papules must be extremely small. |
| Cheeks | 1.5mm – 2.0mm | 0.05ml | 1.0cm | Large area. Suggest grid pattern from zygomatic peak. |
| Forehead | 1.0mm – 1.5mm | 0.02 – 0.03ml | 0.8cm | Avoid supraorbital foramen. One of the most painful areas. |
| Perioral/Chin | 1.2mm – 1.8mm | 0.03 – 0.05ml | 0.8cm | Frequent muscle activity. Papules subside faster. |
Pain & Pace
The pain mainly stems from mechanical sharp pain and tissue distension pain. Since PN pH is close to physiological levels, there is no significant chemical sting.
- Anesthesia Protocol: Compound Lidocaine cream is applied thickly with Occlusion for no less than 40-50 minutes.
- Operation Pace: Approx. 2-3 seconds per point. 2ml full-face involves 80-100 injection points.
- Bleeding Management: Pinpoint Bleeding is normal. Press with gauze for 30-60 seconds to stop bleeding; large ecchymosis is rare unless a vein is punctured.
Immediate Morphology
The face presents a typical Reptilian Skin Appearance with neatly arranged small bumps. Subsidence Timeline: After 6 hours: Solution permeates surrounding tissue, papule edges blur, height decreases 30-50%. After 24 hours: Most papules flatten, though slight irregularities remain under side lighting. 48-72 hours: Tiny papules in thin-skinned areas completely disappear. 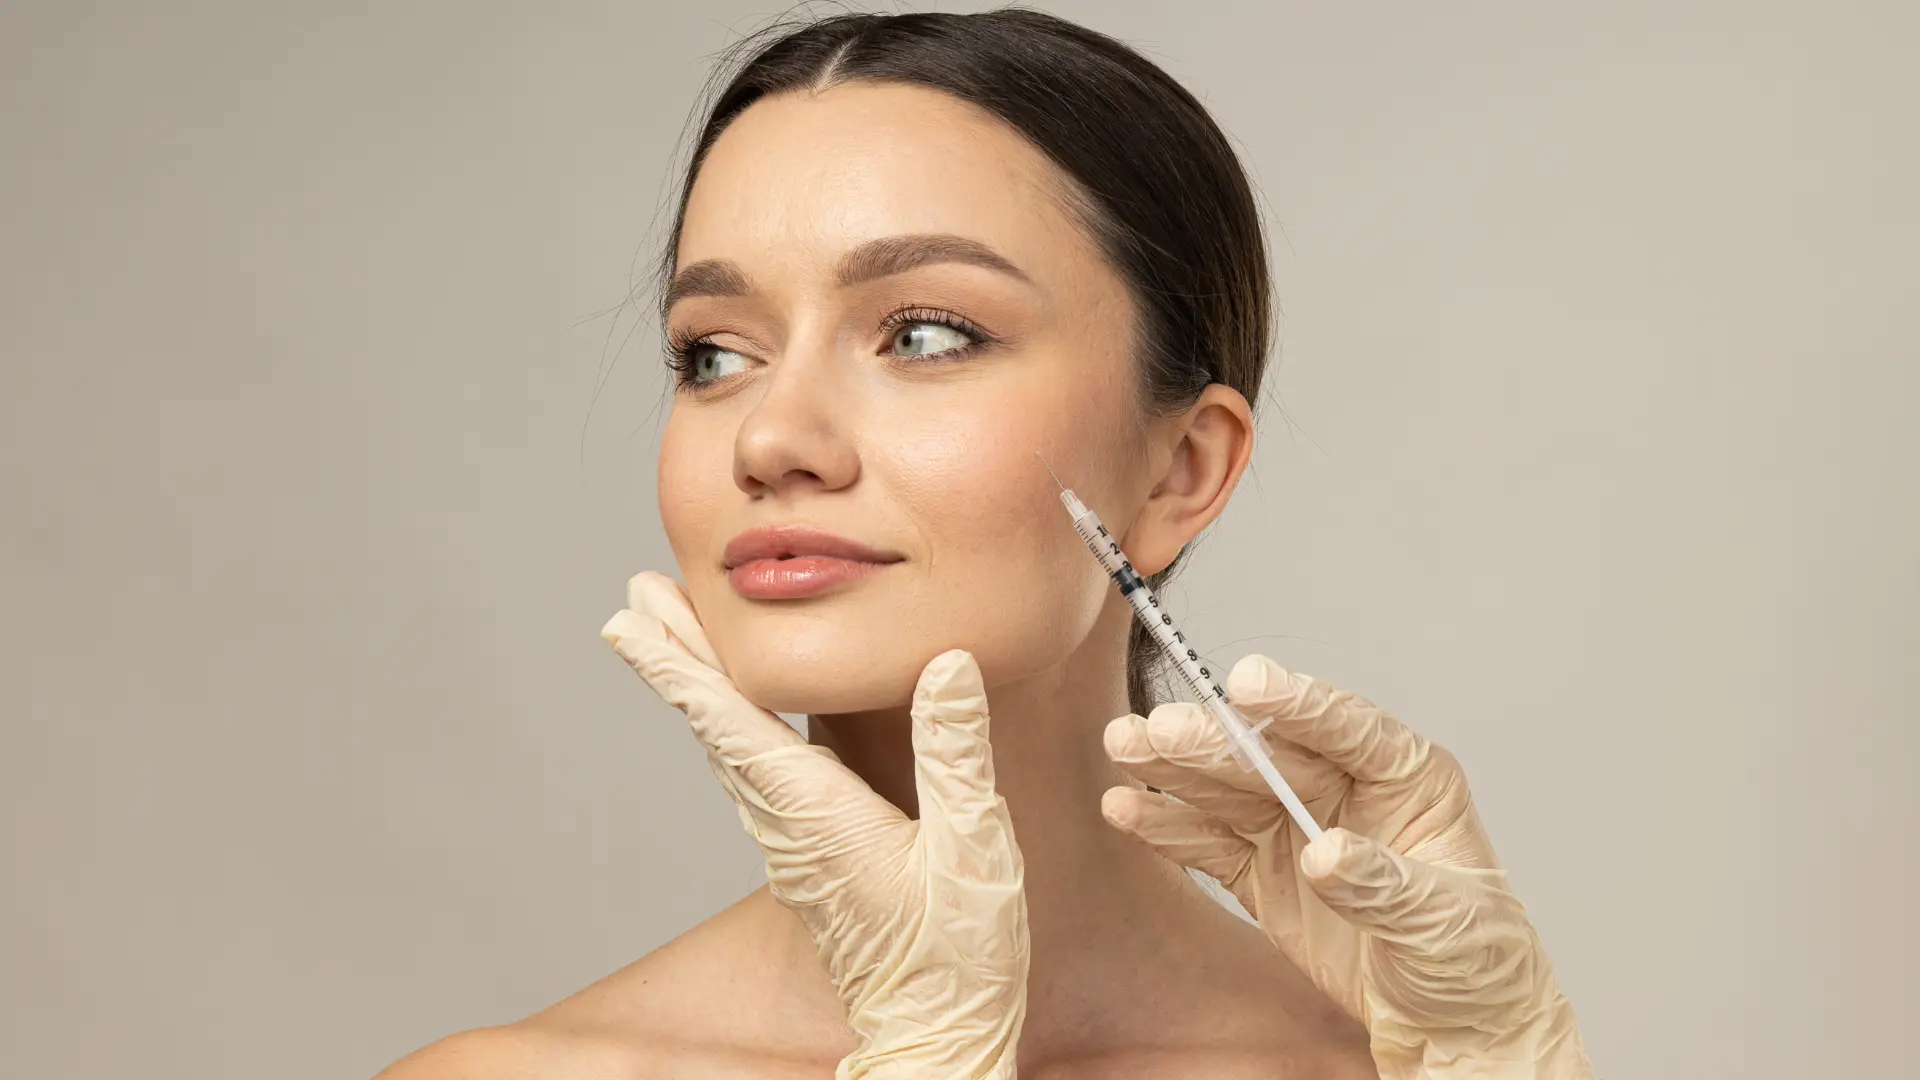
Mechanical Assisted Injection
Vacuum Mechanism
rely on Suction.
- Fixing the Target Skin: Vacuum turns soft skin into a tight plane. Important for loose areas like eyes/neck.
- Gate Control Theory: Pressure stimulus from suction preempts pain signals, making instrument injection pain far lower than manual.
- Physical Deception: Suction thins skin. A 1.0mm set depth may reach 1.2mm – 1.5mm. Parameters are usually set 0.2mm – 0.4mm shallower than intended manual depth.
The Leakage Problem
- Residual Pressure: PN chains are long and viscous. Compressed pressure in the tubing releases much slower than hyaluronic acid. Solution continues to push out when the is withdrawn.
- Elastic Recoil: Instruments use 31G or 32G. Thicker holes cannot close immediately, leading to Backflow of high-pressure solution.
- Data Reference: On older, the leakage rate can reach 20% – 30%.
Configurations
5-Pin vs 9-Pin: 9-Pin Probe: High efficiency, but for Rejuran, 9 holes mean 9 potential leakage points and higher suction-related bleeding. 5-Pin Probe: Recommended. Fewer reduce resistance and ensure full entry in curved areas. Gauge: Standard is 31G. 32G is prone to Clogging or triggering High Pressure Alerts due to Rejuran’s glue-like texture.
Post-Procedure Indicators
The Embossing Effect
Known as “reptilian skin” or “mosquito bites.” Physical Cause: The Dermis is dense. Forcing 0.05ml of viscous gel creates a Depot. PN chains maintain the papule shape through volume occupancy. Morphological Characteristics:
- Manual: Papule diameter 3mm – 4mm, high and sharp edges, pale white/translucent.
- Instrument: Low single-point dose (<0.02ml) means no obvious bulge, just diffuse edema and tiny hole elevations.
Model Differences:
- Rejuran S (Blue): Highest viscosity, hardest papules, takes 2-3 days to soften.
- Rejuran I (White): Good fluidity, flatter papules, becomes blurred within 12 hours.
Resolution Timeline and Absorption Kinetics
Downtime is the physical diffusion process from bulging to flattening.
| Time Point | Clinical Performance | Histological Inference |
|---|---|---|
| Immediate (T+0) | White papules, hard touch, slight erythema. | Liquid concentrated at injection site, local tension peaks. |
| 6-12 hours | Edges blur, height drops 50%, turns from white to red. | Liquid begins Diffusion along collagen fibers. |
| 24 hours | Thick-skin areas flatten, though side lighting shows slight unevenness. | Liquid evenly distributed in superficial dermis, starts hydration. |
| 48-72 hours | Thin-skin areas (periorbital) completely disappear. | Metabolized/integrated, fibroblast activation program starts. |
- Periorbital Retention: Eyelid skin is only 0.5mm. If dose exceeds 0.02ml, papules may stay for 3-5 days.
Vascular Reactions
- Pinpoint Bleeding: Normal. Small Scabs drop within 24-48 hours.
- Erythema: Flushing from Histamine Release and inflammation. Lasts 1-2 hours.
- Mechanical Purpura: Mostly from vacuum suction. Non-bulging bruises, takes 5-7 days to fade to yellow.
Sensory Feedback
- Tightness: Days 1-3. Caused by PN-induced Hydration and increased Turgor.
- Dryness: Surface feels dry due to temporary barrier damage and increased TEWL.
- Slight Itch: Normal healing signal in 10% of patients.
Abnormal Signals to Watch Out For
- Persistent Nodules: Hard and tender after 7 days. May be from too shallow injection or dose-related foreign body reaction.
- Vascular Occlusion: Rare. Map-like blanching, intense pain, or Livedo Reticularis. Handle immediately.
- Delayed Swelling: Sudden redness/swelling/heat after 3-4 days usually indicates bacterial infection (Biofilm).